Ingredients
-
2 cups Seeraga samba rice1:2 (wter ratio) with 15 mins soaking time for rice
-
750 gms Fresh Country chicken
-
3 tbsp Fresh curd(well beaten)
-
A handful Coriander leaves
-
A handful Mint leaves
-
2 handful (big size) Shallots
-
1.5 inch Ginger
-
3 large Garlic
-
As per your taste Green chilli
-
3 tspn Ghee
-
3 tbsp Oil
-
1 1/2 tspn Kashmiri Chilli powder
-
1 tspn Coriander powder
-
1/4 tspn Jeera powder
-
half a lime Fresh Lime juice
-
as per taste Salt
-
For Homemade biryani powder
-
1 Star anise
-
1 Bay leaf
-
5 Cloves
-
7 Green cardamom
-
1 inch Cinnamon
-
10 cashew
-
(just grated and sprinkle lightly) Nutmeg
-
a bit in the size of say a green cardamom Javitri (Mace)
-
1 coin sized Black stone flower (kalpasi/dagad phool)
Directions

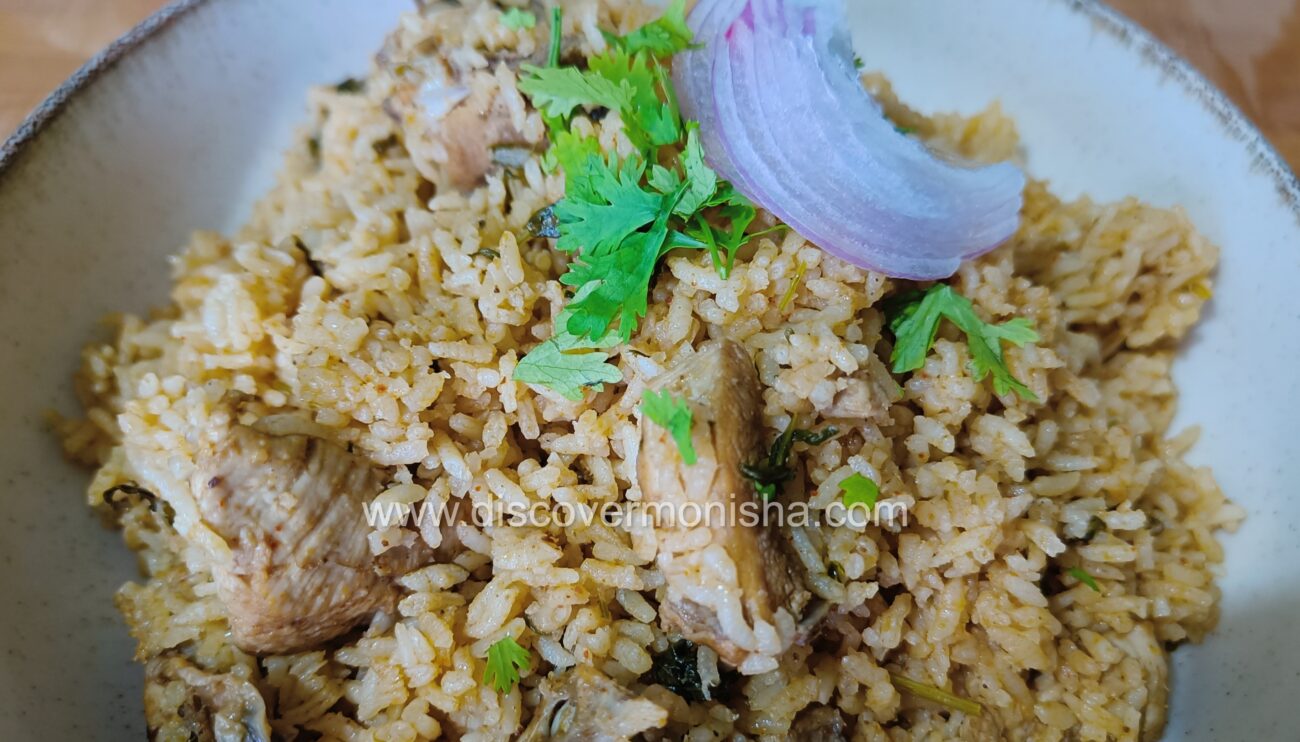
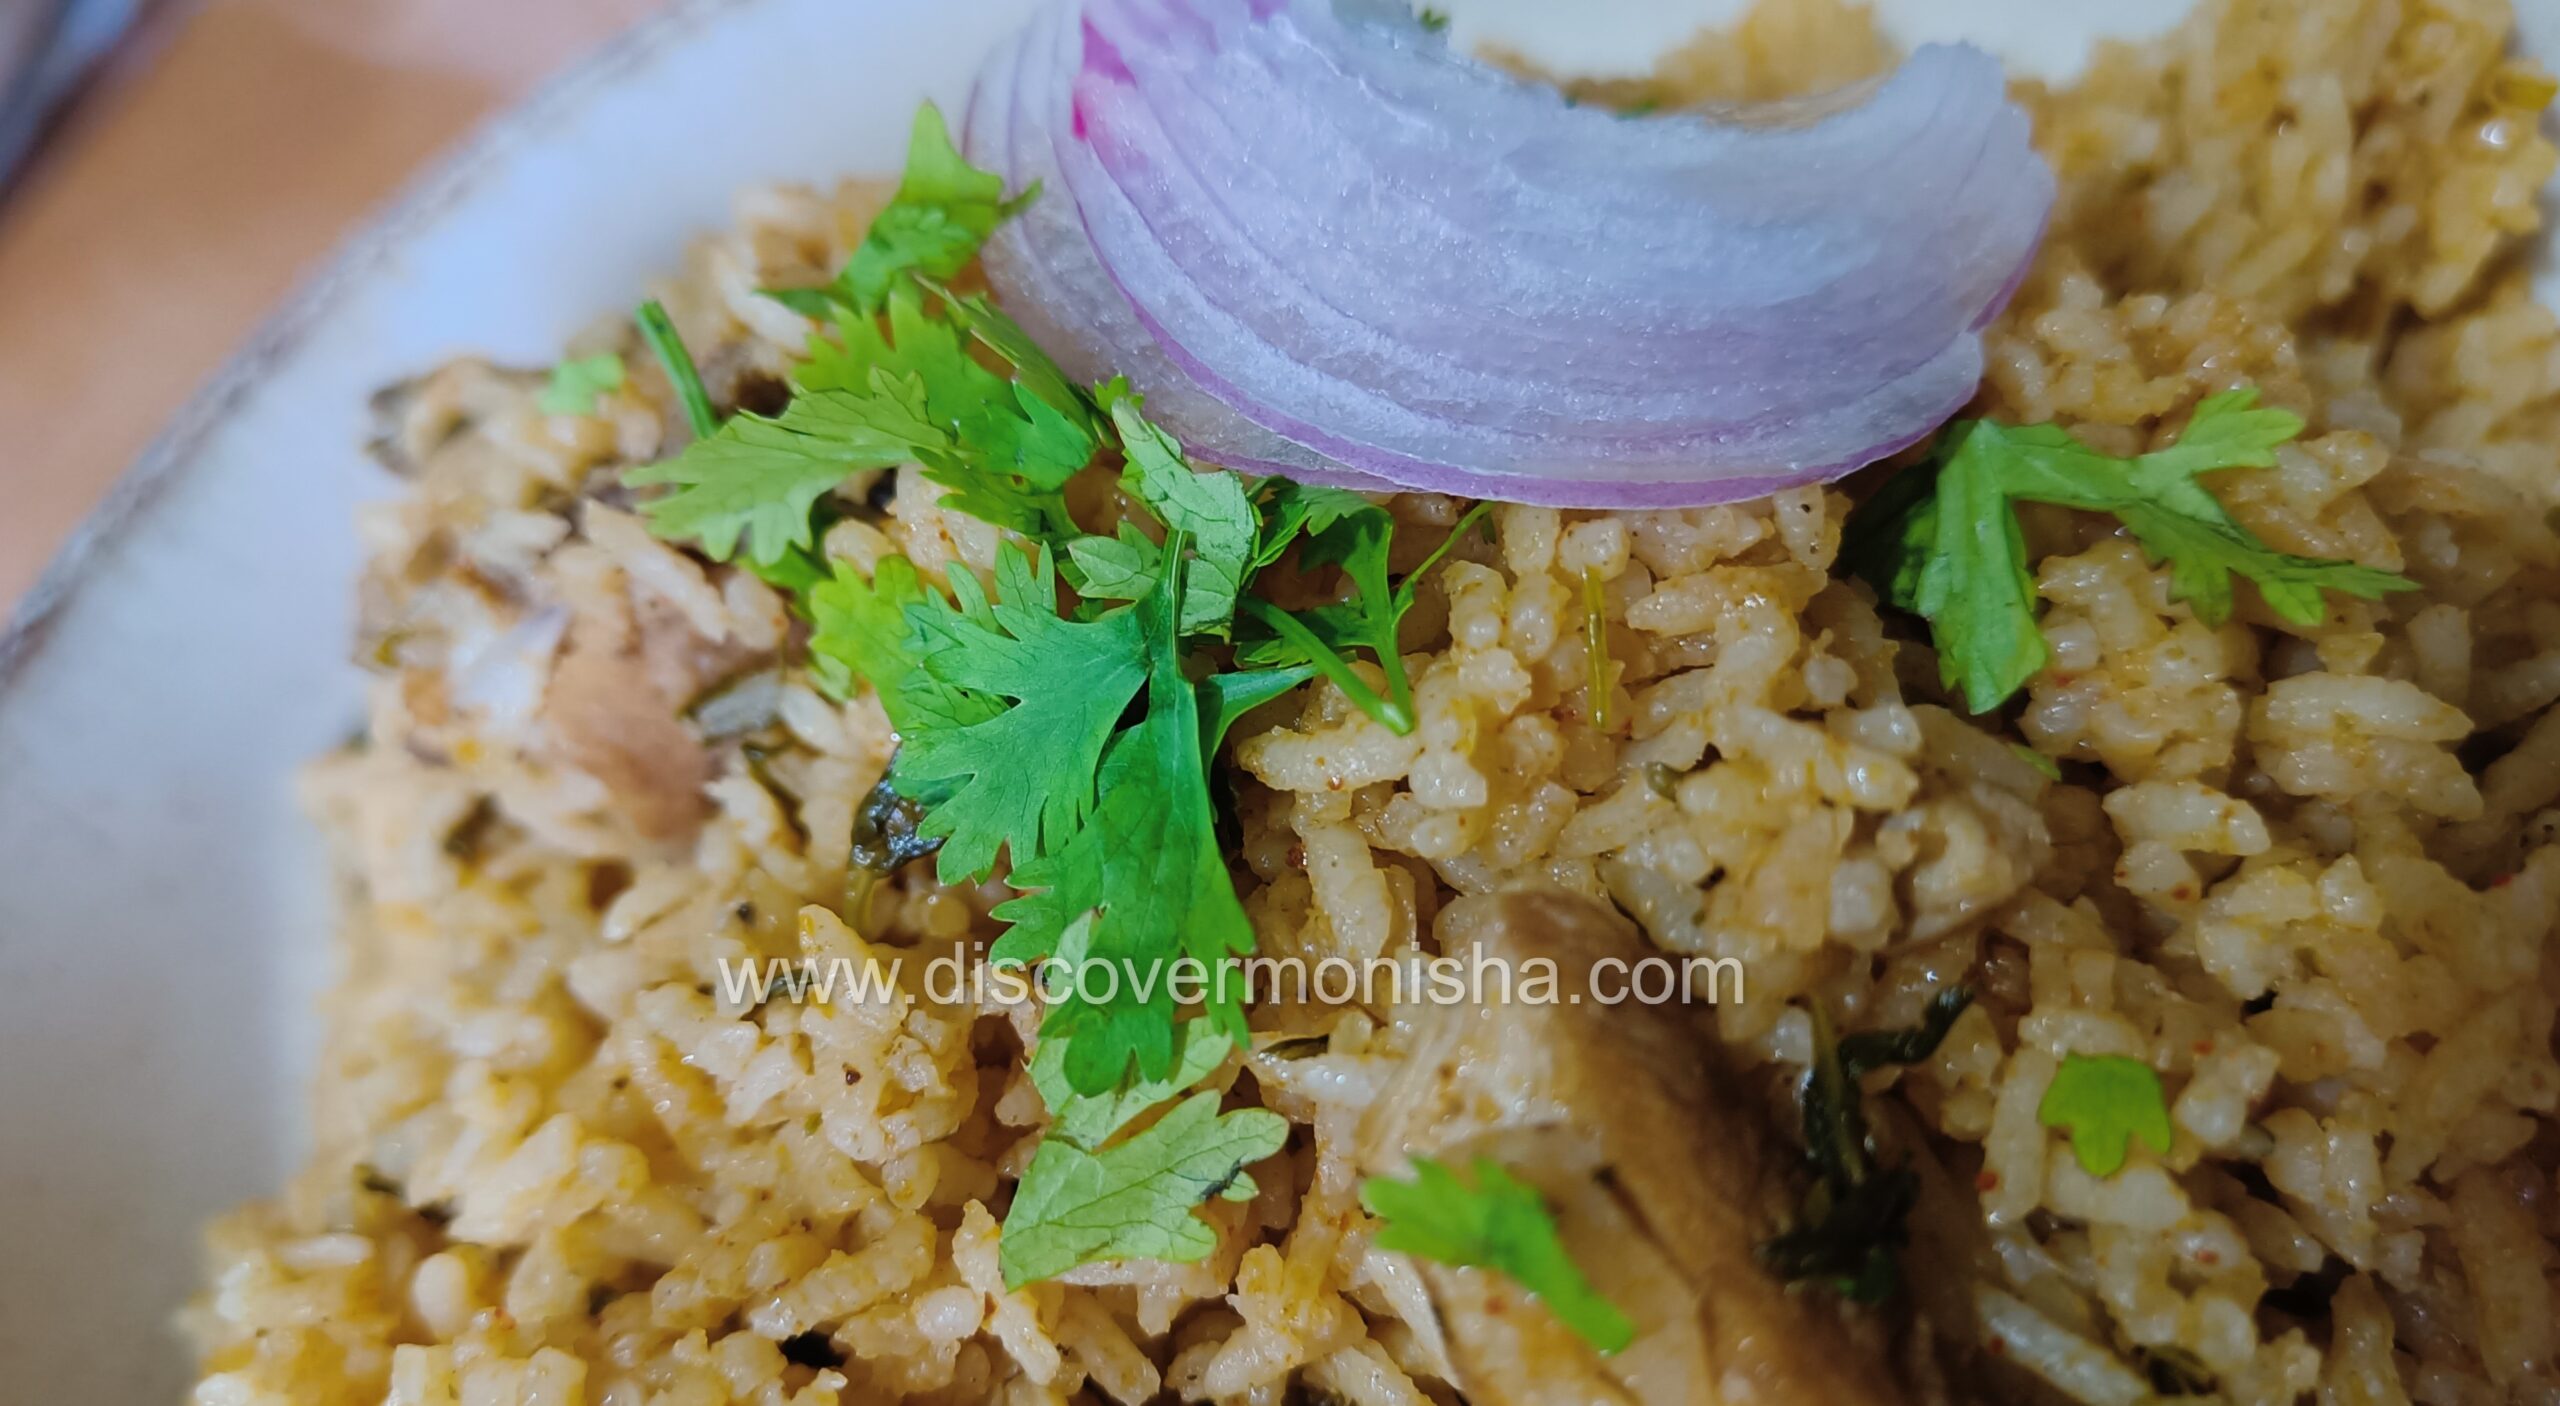
For years, I thought Dindigul Thalappakatti Biryani was best left to the experts—until I finally cracked the recipe in my own kitchen. If someone like me, who grew up in a noisy, fast-paced city with little time for elaborate cooking, can get this right, you can too! Here’s my simple step-by-step method to make authentic Dindigul biryani with that signature flavor at home.
This biryani is mainly cooked with meat namely chicken or mutton. So it tastes best as a non-veg biryani, and I hardly wonder if the veg version of this biryani would make upto this level in case of taste.
What’s so special about this particular biryani?
Dindigul Thalappakatti Biryani isn’t just a dish—it’s an experience. Known for its bold flavors, soft seeraga samba rice, and aromatic blend of freshly ground spices, this biryani has a cult following across Tamil Nadu. What makes it truly special is its unique preparation—the meat is marinated with a perfect balance of spices, slow-cooked to tenderness, and layered with rice so every bite bursts with flavor. Unlike the heavy, greasy biryanis you might find elsewhere, Dindigul biryani is light, fragrant, and soul-satisfying. It’s the kind of meal that reminds you why biryani is more than food—it’s a celebration on a plate.
It can be had even on days when we are suffering from mild fever, cold and flu, as this biryani has such a subtle flavor that almost anyone from any region, irrespective of their cultural background, can relish this one-pot chicken rice in our South Indian-Tamil Nadu style. Taste and satisfying comfort meal guaranteed!
Who is the man behind this Thalapakatty biryani?
This legendary biryani traces its roots back to 1957, when a man named Nagasamy Naidu opened a small restaurant in Dindigul, Tamil Nadu, wearing his trademark ‘thalappa’ (turban)—and that’s how it got its name.
So how did I find this recipe?
It was my husband who introduced me to this thalapakatty biryani that he would often keep talking about. Back then, during his bachelor days, he happened to have had this dish. with his friends in a restaurant and tried cracking this recipe 3-4 times at home, ultimately. ending up in one or the other failed attempt. Back then, while I used to stay with my parents, we used to be strictly vegetarians and refrained from consuming any non-veg meals. During our trip to Chennai, my husband introduced me to the Dindigul Thalapakatty biryani restaurants, and I tried this biryani along with my daughter for the first time. To my surprise our daughter was the first one to have praised this biryani and soup so much that finally it was for my husband and daughter that I cracked this recipe.
It was my very first attempt. I checked from the sources across the web. cannot mention that I followed this person’s guide exactly to make this biryani. Unlike in my Hyderabadi dum biryani, I had shared that it was chef Ranveer Brar’s recipe I found convincing and inspiring. There were mixed reviews and styles of cooking offered across the internet, which made me question myself at certain places. In such a situation, I followed my instincts. For example, maybe I was running short of a few ingredients, or say, maybe I did not follow the exact time they asked. So here I applied my own logic to turn out the biryani suitable for my family’s taste.
Cooking method
Using seeraga samba rice that is readily available in the market is the key ingredient for this biryani. Soak rice in water. for 10 – 15 mins. Check the quality of rice before adding water for cooking, as it may differ from one quality to other another.
The first basic rule for preparing any kind of biryani is to keep all the ingredients fresh. In a blender jar, add all the whole spices along with cashews and grind it finely. Sometimes that amount I mentioned might not get crushed easily; in such a case, you can double up the quantity. But once it is ground, take only half the amount to use it for cooking.
Similarly, after you have ground the spices, use the same jar to grind the wet ingredients like shallots, ginger, garlic, and green chili.
In a pan heat oil followed by ghee. Add the chicken and toss it for a minute. Then add the wet ingredients. Keep stirring until the raw smell disappears. This should take around 5-7 minutes on medium flame. then add the dry mix. Continue to keep stirring for 5-7 minutes further. Add well-beaten curd along with the salt required for the chicken amount. At this stage add coriander leaves and mint leaves well chopped and give a quick stir, as the heat can burn the fresh leaves in no time. Add in the powdered spices like Kashmiri chili powder, coriander powder, and jeera powder.
Time to add the rice. Keep turning the rice for a good five minutes in a medium flame before adding water. Once the water is added, we also add the lime juice at this stage. Add a dash of ghee at this stage, or skip both; either is fine.
Cook it until the rice settles to the surface, and for the remaining time, we set it on dum. Meaning the indirect heat that we provide by placing a pan below the pot. Say the first 5 minutes on direct stove over high flame and the remaining 10 minutes on indirect heat at slow flame. Move the biryani pot away from the pan in 10 minutes and allow it to cook further by letting it sit for 10 minutes.
Everything while preparing a biryani matters, like the vessel, the quality of ingredients, the rice quality and timing. I have used a heavy-duty steel pot and a hard-anodized pan. as cooking utensils here. Please leave comments below in case I haven’t met any of your queries above.